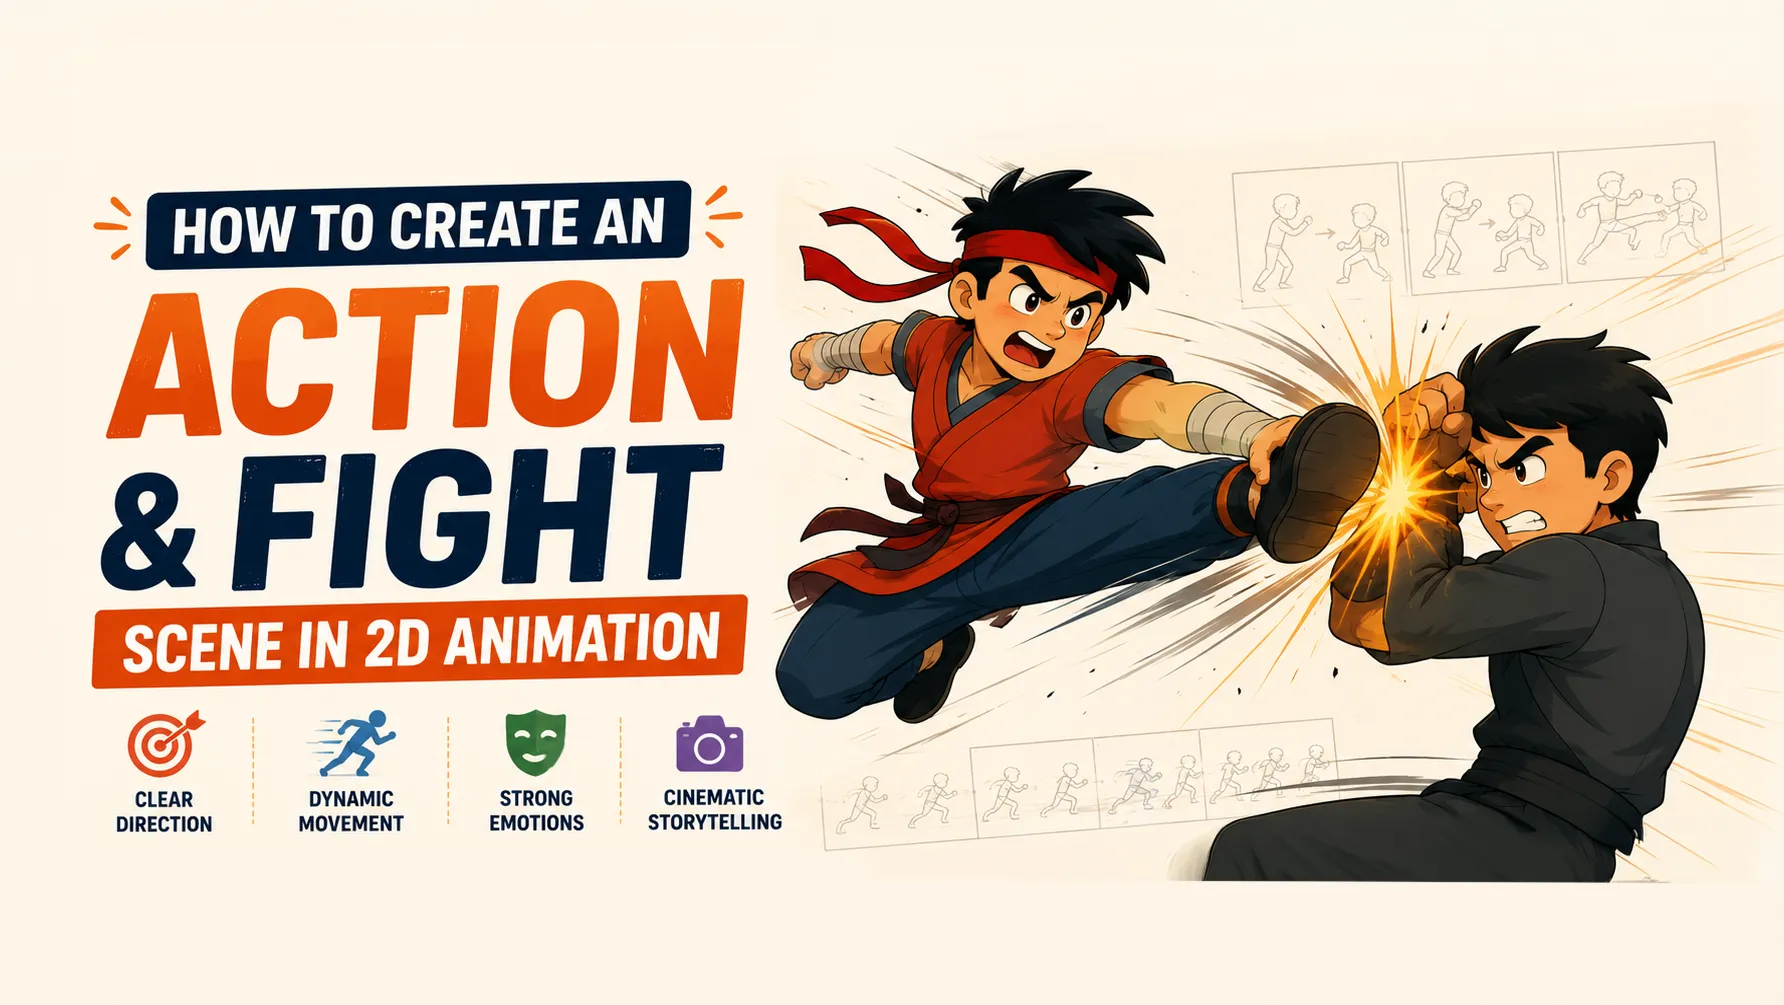
How to Create an Action & Fight Scene in 2D Animation: Direction, Mood, Camera, Color & Movement
A great fight scene is not just two characters hitting each other.
It is a combination of storytelling, direction, choreography, camera movement, timing, character acting, composition, color, lighting, sound, and emotion.
A character throws a punch.
The opponent blocks it.
The camera cuts.
A foot hits the ground.
The screen shakes.
There is a moment of silence.
Then—impact.
These individual moments become powerful only when they are carefully directed as one complete sequence.
That is what makes a good action scene in 2D animation different from a random collection of movements.
In this guide, we'll break down how to plan and create an action or fight scene—from the initial idea to choreography, camera direction, mood, color, lighting, impact, and final polish.
What Makes a Great Action Scene?
Before thinking about punches and kicks, understand one important idea:
Action is storytelling through movement.
A good action scene should answer:
- Who wants what?
- Who has the advantage?
- What is at stake?
- What is the emotional state of the characters?
- How does the situation change?
- Who wins or loses?
- What does the audience need to feel?
If the answers are unclear, the scene may look impressive but still feel empty.
A strong action scene has purpose.
1. Start With the Story
Don't begin by animating a punch.
Begin by defining the situation.
Imagine:
Character A wants to escape.
Character B wants to stop them.
Now the fight has a purpose.
Maybe Character A is protecting someone.
Maybe Character B is trying to capture them.
Maybe both characters are angry.
Maybe one character doesn't actually want to fight.
These details completely change how the scene should be directed.
2. Decide the Mood
Before designing the visuals, decide how the audience should feel.
Your fight scene could be:
Aggressive
Fast movement, sharp poses, strong contrast, hard impacts.
Dark
Low-key lighting, muted colors, shadows, slower pacing.
Heroic
Strong poses, dramatic lighting, powerful camera angles.
Chaotic
Rapid cuts, irregular camera movement, overlapping actions.
Emotional
Longer pauses, close-ups, facial expressions, slower moments.
Comedic
Exaggerated poses, unusual timing, unexpected reactions.
Mysterious
Silhouettes, limited lighting, hidden faces, slower reveals.
The same fight choreography can feel completely different depending on the mood.
3. Choose a Visual Direction
Before animation begins, define the visual language of the scene.
Think about:
- Shape language
- Line quality
- Color palette
- Lighting
- Camera movement
- Background detail
- Character proportions
- Effects
- Editing rhythm
For example:
Dark Action
Black + Deep Red + Desaturated Gray
Magical Action
Deep Blue + Purple + Bright Energy Color
Heroic Action
Warm Highlights + Strong Shadows
Futuristic Action
Dark Neutrals + Cool Accents + Neon
The visual direction should remain consistent throughout the scene.
4. Create a Color Script
One of the most useful tools for directing an action sequence is a color script.
A color script maps the emotional progression of the scene using color.
For example:
Beginning
Cool and dark.
The characters are tense.
↓
Fight Begins
More contrast.
Energy increases.
↓
Major Attack
Strong saturated color.
↓
Turning Point
Sudden change in palette.
↓
Final Impact
Bright highlight or dramatic color.
↓
Ending
Colors become quieter again.
This gives the sequence an emotional visual rhythm.
Why Color Matters in Action Scenes
Color can communicate:
Emotion
Character identity
Danger
Energy
Location
Time
Story progression
For example, red can be used to suggest danger or aggression, but it doesn't automatically mean "evil."
Blue can suggest calmness, isolation, coldness, or supernatural energy.
Yellow can suggest energy, excitement, warning, or hope.
Purple can suggest mystery, magic, or power.
The meaning depends on the story and the colors surrounding it.
5. Use Color Contrast Between Characters
If two characters are fighting, you want the audience to distinguish them immediately.
One simple technique is giving them contrasting visual identities.
For example:
Character A
Cool colors.
Character B
Warm colors.
This creates visual separation.
You can also contrast:
- Light vs dark
- Saturated vs muted
- Round vs sharp
- Large vs small
- Warm vs cool
The goal isn't necessarily to make their costumes completely different.
The goal is to make their actions easy to read.
6. Think About Composition
Composition determines where everything is placed inside the frame.
In an action scene, composition becomes extremely important because there may be multiple moving elements.
Ask:
Where should the audience look?
If a character is attacking from the left, their movement should be clearly readable.
If the important action happens in the center, don't fill the center with unnecessary background detail.
7. Use the Rule of Thirds
The rule of thirds can help create dynamic compositions.
Imagine dividing the screen into:
3 columns × 3 rows
Important characters or objects can be placed around the intersections.
However, don't treat this as a strict formula.
Action scenes often benefit from intentionally breaking conventional composition.
8. Use Diagonal Composition for Action
Horizontal and vertical compositions often feel stable.
Diagonals feel energetic.
For example:
Horizontal
Character standing across the frame.
Feels stable.
Diagonal
Character leaning dramatically through the frame.
Feels dynamic.
Use:
- Diagonal body poses
- Diagonal weapons
- Diagonal backgrounds
- Angled camera
- Directional light
to increase the feeling of movement.
9. Create a Strong Silhouette
During fast action, the audience may only see a pose for a fraction of a second.
That's why the silhouette needs to be readable.
A strong action pose should communicate:
- Direction
- Force
- Balance
- Intention
Avoid poses where arms and legs overlap so much that the action becomes difficult to understand.
10. Design the Fight Before Animating It
Don't start with full animation.
First create thumbnail storyboards.
Draw tiny, rough frames showing:
- Character positions
- Major attacks
- Camera angles
- Reactions
- Impacts
- Transitions
Don't worry about drawing quality.
At this stage, you're solving direction.
11. Build the Fight Around Beats
A fight scene can be divided into beats.
A beat is an important moment in the action.
For example:
Beat 1
Character A notices the opponent.
Beat 2
Opponent attacks.
Beat 3
Character A dodges.
Beat 4
Character A counterattacks.
Beat 5
Opponent blocks.
Beat 6
Both characters separate.
Beat 7
A brief pause.
Beat 8
The final attack begins.
Beat 9
Impact.
Beat 10
Aftermath.
These beats create structure.
Without them, the fight can feel like:
Punch → Punch → Kick → Punch → Explosion
with no story progression.
12. Choreography Should Have Cause and Effect
Good fight choreography follows cause and effect.
For example:
Attack → Defense → Reaction → Counterattack
Instead of:
Attack → Random pose → Random attack
Every movement should influence the next movement.
If a character gets hit in the shoulder, their next movement should reflect it.
If someone loses balance, they might recover before attacking.
This makes the fight feel connected.
13. Give Characters Different Fighting Styles
Don't make every character move the same way.
Character personality should influence choreography.
Aggressive Character
- Large movements
- Forward motion
- Heavy attacks
- Minimal retreat
Defensive Character
- Dodging
- Blocking
- Counterattacks
- Smaller movements
Fast Character
- Quick direction changes
- Short attacks
- Rapid footwork
Powerful Character
- Fewer movements
- Larger impacts
- Heavy anticipation
- Strong poses
The fight becomes more interesting when personality affects movement.
14. Use Anticipation Before Major Attacks
A powerful attack usually benefits from preparation.
For example:
Prepare → Attack → Impact → Reaction
The preparation might only last a few frames.
But it tells the audience:
Something big is coming.
The bigger the attack, the more useful anticipation can become.
15. Use Contrast in Timing
If every action happens at the same speed, the fight becomes boring.
Instead, create rhythm.
For example:
Slow → Slow → FAST → Impact → Pause → Fast
This creates tension and release.
A character might slowly raise their weapon.
The opponent waits.
Then suddenly:
ATTACK.
The contrast makes the attack feel faster and more powerful.
16. Don't Animate Every Hit
This is an important directing technique.
You don't always need to show every single punch.
Sometimes you can cut away at the right moment.
For example:
Punch begins → CUT → Opponent hits wall
The audience understands what happened.
This can make the action feel faster and more cinematic.
It also prevents the sequence from becoming repetitive.
17. Use Camera Angles to Control Power
Camera direction can completely change how powerful an action feels.
Low Angle
Makes the character feel:
- Powerful
- Dominant
- Threatening
High Angle
Can make a character feel:
- Vulnerable
- Weak
- Trapped
Eye Level
Feels more neutral.
Extreme Close-Up
Can emphasize:
- Emotion
- Fear
- Anger
- Concentration
Wide Shot
Shows:
- Environment
- Distance
- Choreography
- Spatial relationships
18. Use Wide Shots for Geography
One of the biggest problems in action scenes is losing the sense of space.
The audience should understand:
Where is everyone?
A wide shot establishes the environment.
It shows:
- Character A
- Character B
- Distance between them
- Important objects
- Escape routes
- Environment
After establishing the geography, you can use closer shots.
19. Use Close-Ups for Emotion
Close-ups are powerful when you want to show what the character is feeling.
You might cut from:
Wide fight
to:
Close-up of eyes
to:
Hand tightening
to:
Opponent reacting
These details create tension.
A fight scene isn't only about bodies.
It's about emotions inside those bodies.
20. Use Camera Movement Carefully
Camera movement can increase energy.
You can use:
- Push in
- Pull out
- Pan
- Tilt
- Tracking
- Rotation
- Shake
- Zoom
But don't move the camera constantly.
If everything shakes, nothing feels powerful.
Use camera movement strategically.
21. Camera Shake for Impact
Camera shake can communicate force.
But it should be brief.
For a major impact:
Impact → Short shake → Stabilize
Don't keep shaking the camera for several seconds.
A short, controlled movement usually feels stronger.
22. Use Speed Lines
Speed lines can help communicate fast movement.
They work especially well for:
- Punches
- Kicks
- Weapon swings
- Dashes
- Projectiles
The direction of the lines should reinforce the movement.
23. Use Smear Frames
A smear frame is a distorted drawing used during extremely fast movement.
Instead of showing:
Pose A → Pose B
you can briefly exaggerate the shape between them.
The character's arm might become extremely long.
The face might stretch.
The body might distort.
The purpose isn't realism.
The purpose is communicating speed.
Smear frames are especially useful in stylized 2D animation.
24. Use Impact Frames
An impact frame is a very short visual moment emphasizing a major action.
It can involve:
- Extreme pose
- Flash
- High contrast
- Simplified background
- Graphic shapes
- Screen shake
- Color change
For example:
Punch → Impact Frame → Opponent flies backward
The impact frame acts like visual punctuation.
25. Use Backgrounds to Increase Speed
You can also manipulate the environment.
During rapid movement:
- Background can blur
- Perspective can exaggerate
- Lines can stretch
- Environment can move rapidly
- Camera can track the character
This makes the character feel faster without requiring every body movement to become more complicated.
26. Lighting Should Follow the Action
Lighting can dramatically improve a fight scene.
If a character creates a bright attack, the light should affect the surrounding environment.
For example:
Energy blast → Character face lights up → Ground receives glow → Nearby wall reacts
This makes the action feel integrated into the scene.
27. Use Light Direction to Guide Attention
Lighting can also act as a visual arrow.
If the most important character is brightly lit while the background is darker, the audience naturally focuses on them.
You can use:
- Rim light
- Backlight
- Hard shadows
- Soft light
- Colored light
- Flash lighting
to direct attention.
28. Use Color Changes for Major Moments
A sudden color change can make a moment feel important.
Imagine a fight using muted colors.
Then the protagonist activates a special ability.
Suddenly:
The entire frame shifts into a strong accent color.
The audience immediately understands:
This is important.
Use these changes sparingly.
29. Create a Visual Hierarchy
During a complex fight scene, decide what should be most visible.
Primary
The attacking character.
Secondary
The opponent reacting.
Tertiary
Particles, debris, environment.
Don't let particles become more visually important than the characters.
30. Use Environmental Interaction
A fight should feel like it is happening somewhere.
Let the environment react.
Characters can:
- Break objects
- Kick up dust
- Hit walls
- Move furniture
- Break glass
- Leave marks
- Disturb water
- Create debris
These reactions make the fight feel physical.
31. Make Impacts Feel Heavy
A strong impact usually needs more than the hit itself.
Think:
Anticipation
↓
Fast movement
↓
Impact
↓
Deformation
↓
Reaction
↓
Aftershock
For example, a character gets punched.
Their body reacts.
Their clothes move.
Dust appears.
The camera shakes.
They slide across the floor.
Now the audience can feel the force.
32. Use Secondary Motion
When a character moves quickly, everything doesn't stop at exactly the same moment.
Hair can follow.
Clothing can lag behind.
Accessories can swing.
Dust can continue moving.
This makes the action feel more alive.
33. Use Pauses
A fight scene doesn't need constant movement.
One of the strongest techniques is:
Action → Pause → Action
Imagine two characters fighting rapidly.
Suddenly they stop.
Silence.
They look at each other.
One takes a breath.
Then:
BOOM.
The next attack begins.
That pause creates tension.
34. Sound Is Part of the Direction
Even though we're focusing on visuals, sound is essential to action.
Think about:
- Punches
- Footsteps
- Clothing movement
- Breathing
- Weapon sounds
- Impacts
- Environmental noise
- Music
- Silence
A punch without a sound can feel weak.
A carefully timed impact sound can make a simple animation feel powerful.
35. Use Music to Control the Mood
Music can define the emotional identity of the sequence.
Fast Percussion
Creates:
- Energy
- Urgency
- Aggression
Deep Bass
Creates:
- Weight
- Danger
- Tension
Minimal Music
Creates:
- Suspense
- Focus
- Emotional intensity
Silence
Can be even more powerful.
Sometimes removing music before a major impact makes the impact feel much stronger.
36. The Rhythm of a Fight Scene
Think of the fight like music.
You need:
Build-up
Acceleration
Peak
Release
Recovery
New Build-up
This prevents the sequence from becoming one continuous wall of action.
A good fight scene has rhythm.
37. A Basic Action Scene Structure
Here's a useful structure for a short 2D fight scene.
01 — Establish
Show the environment and characters.
02 — Tension
Characters face each other.
03 — Trigger
One character makes the first move.
04 — Exchange
Attacks and defenses begin.
05 — Escalation
The fight becomes more intense.
06 — Turning Point
Someone gains the advantage.
07 — Major Attack
A powerful move begins.
08 — Impact
The biggest visual moment.
09 — Silence
Brief pause.
10 — Resolution
Show the consequence.
This structure works for anything from a short social-media animation to a longer cinematic sequence.
38. How to Use Color for Different Moods
Color should support the emotional direction.
Dark and Serious Fight
Use:
- Low saturation
- Deep shadows
- Limited palette
- Strong contrast
- Small bright highlights
Energetic Fight
Use:
- Strong saturation
- Bright accents
- High contrast
- Rapid color changes
Emotional Fight
Use:
- Softer palette
- Controlled saturation
- Strong character lighting
- Less visual noise
Horror or Dangerous Fight
Use:
- Dark values
- Limited colors
- Sharp highlights
- Deep shadows
- Uncomfortable color contrast
Heroic Fight
Use:
- Clear character separation
- Strong key light
- Bold accent colors
- Dramatic highlights
- Strong silhouettes
39. Don't Make Everything Saturated
This is one of the most common color mistakes.
If every element is bright and saturated, the audience doesn't know what matters.
Instead:
Muted Background + Strong Character + Bright Impact
creates hierarchy.
Save your strongest colors for important moments.
40. Use Warm vs Cool Contrast
A very useful color technique is:
Warm vs Cool
For example:
Character A:
Orange / Red
Character B:
Blue / Cyan
The contrast immediately separates them.
You can also use warm and cool lighting within the same environment.
For example:
Cool background + Warm key light
can make a character stand out.
41. Use Black and White Before Color
Before finalizing the colors, test the scene in grayscale.
Ask:
Can I still understand the action?
If yes, the composition is probably working.
If everything becomes the same gray value, your scene may lack visual hierarchy.
Color should enhance readability—not rescue a weak composition.
42. Keep the Action Readable
This is the most important rule.
The audience should always understand:
Who is moving?
Where are they moving?
What are they doing?
Who is winning?
What just happened?
If the answer is unclear, simplify the shot.
Sometimes the best solution isn't more animation.
It's better staging.
43. Common Action Scene Mistakes
Mistake 1: Too Many Cuts
Rapid editing doesn't automatically make an action scene exciting.
Give the audience enough time to understand each shot.
Mistake 2: Constant Camera Shake
If everything shakes, nothing feels powerful.
Save shake for important impacts.
Mistake 3: No Spatial Continuity
If Character A is suddenly on the opposite side of Character B, the audience becomes confused.
Maintain clear screen direction.
Mistake 4: Every Attack Looks the Same
Vary:
- Speed
- Direction
- Camera
- Scale
- Pose
- Attack type
Mistake 5: No Emotional Story
A technically impressive fight can still feel empty.
Give the characters a reason to fight.
Mistake 6: Too Many Effects
Particles, flashes, smoke, and speed lines can hide the action.
Effects should support choreography.
Mistake 7: Everything Is Equally Important
Create visual hierarchy.
Mistake 8: No Recovery
Characters shouldn't endlessly attack without reacting.
Give them moments to breathe, recover, struggle, or rethink their strategy.
44. A Professional Action Scene Workflow
A practical workflow can look like this:
Stage 1 — Story
What happens?
Stage 2 — Mood
What should the audience feel?
Stage 3 — Color Script
What should the scene look and feel like?
Stage 4 — Thumbnail Storyboard
Plan the shots.
Stage 5 — Choreography
Plan the movements.
Stage 6 — Animatic
Test timing and editing.
Stage 7 — Key Poses
Create major action poses.
Stage 8 — Animation
Build the movement.
Stage 9 — Effects
Add:
- Particles
- Smoke
- Speed lines
- Impact effects
- Debris
Stage 10 — Lighting
Integrate characters and effects into the environment.
Stage 11 — Compositing
Combine all layers.
Stage 12 — Sound
Add music and effects.
Stage 13 — Final Polish
Fix:
- Timing
- Readability
- Color
- Camera
- Transitions
- Continuity
45. A Simple Formula for Your First Fight Scene
If you're a beginner, don't start with a two-minute fight.
Start with 10–20 seconds.
Try this:
Shot 1
Wide shot.
Two characters face each other.
Shot 2
Close-up.
Character A prepares.
Shot 3
Character A attacks.
Shot 4
Character B dodges.
Shot 5
Counterattack.
Shot 6
Impact.
Shot 7
Short pause.
Shot 8
Character A gets back up.
Shot 9
Final attack.
Shot 10
Cut to aftermath.
Even this tiny sequence can teach you:
Direction + Staging + Timing + Camera + Color + Choreography + Impact + Mood
Final Takeaway
A great 2D action scene or fight scene isn't created by simply animating more punches, kicks, explosions, or camera shakes.
It starts with direction.
Know the story.
Know the characters.
Know the mood.
Then build the scene around those decisions.
Use composition to control where the audience looks.
Use silhouettes to make actions readable.
Use timing to control energy.
Use camera angles to communicate power and vulnerability.
Use color to establish mood and character separation.
Use lighting to guide attention.
Use effects to support the action.
Use sound to strengthen impact.
And most importantly:
Give the fight a reason to exist.
The audience shouldn't only see two characters fighting.
They should understand why they're fighting, feel the tension, experience the impact, and care about what happens next.
That's what turns a fight animation into a scene.
And that's the difference between simply animating movement and actually directing action.
Frequently Asked Questions About 2D Action and Fight Scenes
How do you create a fight scene in 2D animation?
Start with the story and purpose of the fight, then define the mood, create thumbnail storyboards, plan the choreography, establish camera shots, create an animatic, animate the key poses and movement, and finally add effects, lighting, compositing, and sound.
What makes a good animated fight scene?
A good fight scene has clear choreography, readable poses, strong timing, purposeful camera direction, character personality, emotional stakes, visual contrast, and a clear beginning, escalation, climax, and resolution.
How do you make a 2D fight scene look cinematic?
Use intentional camera angles, strong composition, controlled editing, dramatic lighting, color contrast, wide shots for geography, close-ups for emotion, and carefully timed impact moments.
What colors are best for action scenes?
There is no single best color palette. Warm colors can communicate energy or danger, cool colors can create calmness, isolation, or tension, and warm-versus-cool contrast can separate characters. The best palette depends on the mood and story.
How do you make an animated punch look powerful?
Use anticipation, fast movement, a readable pose, strong spacing, an impact frame, character deformation where appropriate, reaction movement, secondary motion, and a well-timed sound effect.
How do you make a fight scene feel fast?
Use timing contrast, strong spacing, quick cuts where appropriate, motion blur or speed lines, smear frames, camera movement, and clear directional choreography. Don't make every shot equally fast.
Why do my fight scenes look confusing?
The most common causes are unclear staging, weak silhouettes, excessive camera movement, too many cuts, poor screen direction, and effects hiding the characters. Simplify the shots and establish the geography of the scene.
How important is sound in an action scene?
Sound is extremely important because impact sounds, footsteps, breathing, weapons, environmental sounds, music, and silence can dramatically change the perceived intensity and emotional impact of the animation.
Should every action scene have camera shake?
No. Camera shake works best when used selectively for major impacts. If the camera constantly shakes, the effect becomes less meaningful.
How long should a 2D fight scene be?
There is no fixed length. For learning, a 10–20 second sequence is an excellent starting point. A short scene with clear direction is usually more valuable than a long scene with repetitive action.