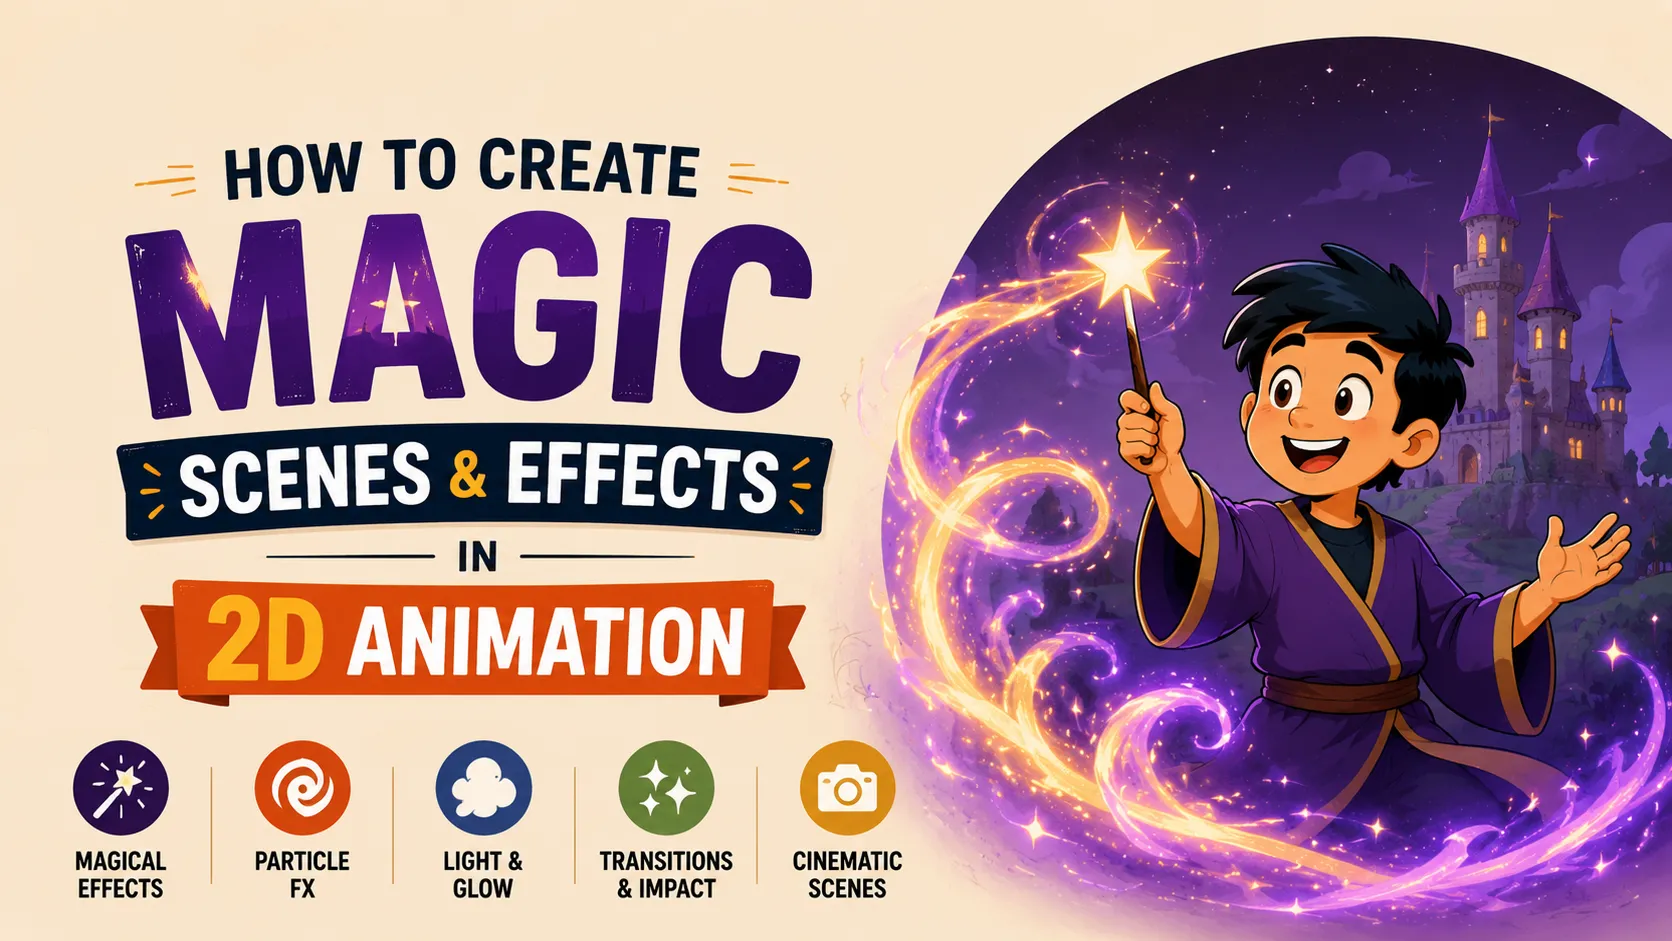
Magic is one of the most exciting things to animate.
A glowing spell appears in a character's hand.
Energy builds around them.
Particles fly through the air.
A magical circle appears.
The screen flashes.
And suddenly—something impossible happens.
But creating a convincing magic scene in 2D animation isn't simply about adding glow, particles, and bright colors.
Great magic effects are built through timing, shape, anticipation, energy, particles, light, compositing, and storytelling.
In this guide, we'll break down how to create magical scenes and effects for 2D animation—from the first idea to the final composited shot.
What Makes a Magic Effect Look Good?
A common beginner mistake is thinking:
Magic = Glow + Particles
But if you only add glow and particles, the result can easily look like a collection of random effects.
A convincing magic effect usually has several layers working together.
A Simple Magic Effect Can Include:
1. Anticipation
The character prepares the spell.
2. Energy Build-Up
Energy begins appearing.
3. Main Shape
The magical object, circle, beam, orb, or symbol appears.
4. Motion
The energy moves with intention.
5. Particles
Small elements add detail and atmosphere.
6. Light
The magic affects the surrounding environment.
7. Impact
The spell reaches its strongest moment.
8. Dissipation
The energy disappears or settles.
Think of magic as a visual performance, not just an effect.
Step 1: Decide What the Magic Is Supposed to Do
Before opening your animation software, define the action.
Ask:
What is the magic actually doing?
Is the character:
- Summoning something?
- Casting a spell?
- Creating fire?
- Controlling water?
- Teleporting?
- Healing?
- Creating an energy shield?
- Shooting a magical projectile?
- Transforming an object?
- Opening a portal?
Different magic requires different movement.
A teleportation spell shouldn't move like a fireball.
A healing spell shouldn't behave like an explosion.
The effect should communicate its purpose and personality.
Step 2: Design the Magic's Visual Language
Before animating, decide what your magic looks like.
Think about:
Shape
Will the magic use:
- Circles?
- Spirals?
- Lines?
- Ribbons?
- Sharp shapes?
- Organic forms?
- Geometric symbols?
Color
Choose a limited palette.
For example:
Blue + White
could feel:
- Cold
- Mystical
- Calm
- Technological
While:
Orange + Red + Yellow
could suggest:
- Fire
- Heat
- Destruction
- Energy
Color doesn't have to follow strict rules.
What matters is consistency.
If every magical effect in your world follows the same visual language, the audience begins to understand that language automatically.
Step 3: Start With a Strong Silhouette
Before adding particles or glow, design the main shape.
This is especially important for:
- Magic circles
- Energy shields
- Portals
- Fireballs
- Summoned creatures
- Magical weapons
- Energy blasts
Ask:
Can I understand the effect if all the glow is removed?
If the answer is no, the core design may need improvement.
Glow should enhance the effect.
It shouldn't hide a weak design.
Step 4: Create Anticipation
Magic usually feels more powerful when the audience sees it building up before it happens.
Imagine a character casting a spell.
Don't immediately show:
HAND → HUGE EXPLOSION
Instead:
Prepare → Build → Charge → Release
The character may:
- Move their hand
- Change their pose
- Look toward the target
- Gather energy
- Create a small glow
- Increase particle activity
Then the spell is released.
This anticipation creates suspense.
Step 5: Build the Energy
Now the magic starts coming alive.
A useful approach is to build the effect from several layers.
Layer 1 — Core
The brightest, most important part.
Layer 2 — Energy Shape
The visible body of the magic.
Layer 3 — Glow
Soft light around the core.
Layer 4 — Particles
Small floating elements.
Layer 5 — Trails
Motion streaks or energy trails.
Layer 6 — Environmental Light
The surrounding scene reacts to the magic.
This layered approach gives the effect depth.
Step 6: Animate the Main Shape First
Don't start with particles.
First animate the main magical element.
For example, if you're creating an energy orb:
Frame 1: Small orb
Frame 8: Growing
Frame 15: Large charged orb
Frame 18: Release
Frame 25: Impact
Frame 35: Dissipation
Once the primary animation feels good, add the secondary details.
This prevents the effect from becoming visually complicated before the main action works.
Step 7: Use Squash and Stretch
Even magical objects benefit from deformation.
An energy orb doesn't have to remain a perfect circle.
During acceleration, it can stretch.
During impact, it can squash.
During expansion, it can distort.
This helps communicate:
- Speed
- Force
- Elasticity
- Energy
The more stylized your animation is, the more exaggerated you can make these changes.
Step 8: Animate Energy With Curves
Magical energy often looks better when it moves in curved paths rather than straight lines.
Instead of:
A → B
try:
A → Curve → B
This works particularly well for:
- Magical ribbons
- Lightning
- Energy trails
- Floating particles
- Smoke
- Fire
- Spell symbols
Curved motion can make the magic feel alive and organic.
Step 9: Create Magical Particles
Particles are one of the easiest ways to add detail to a magic effect.
But don't simply scatter random dots everywhere.
Give the particles behavior.
They can:
- Rise
- Fall
- Orbit
- Follow a trail
- Move toward the spell
- Explode outward
- Fade away
- Flicker
- Change size
The movement should support the main action.
Particle Size Variation
Don't make every particle identical.
Use a mixture of:
Large particles
Medium particles
Tiny particles
This creates depth.
Large particles can appear closer to the viewer.
Tiny particles can create atmosphere.
Step 10: Use Direction
Good effects usually have a clear direction.
For example, if an energy blast travels toward the right, the particles and trails can support that direction.
Instead of random movement:
← ↑ → ↓
create movement that supports the action:
→ → → →
This makes the effect easier to understand.
Step 11: Add Trails
Fast magical objects often need motion trails.
Imagine an energy projectile.
Instead of only showing:
●
you can create:
────●
The trail tells the audience where the object came from and how quickly it is moving.
Trails can be used for:
- Energy blasts
- Magical swords
- Lightning
- Fast-moving characters
- Teleportation
- Flying objects
The trail should usually follow the movement rather than simply remain attached as a static decoration.
Step 12: Create the Glow
Glow is one of the most recognizable parts of magical effects.
But too much glow can destroy the effect.
A better approach is to create multiple levels of brightness.
Core
Very bright.
Inner Glow
Strong but controlled.
Outer Glow
Soft and subtle.
Environment
A weaker version of the same light influences nearby objects.
This creates a sense that the magic is actually producing light.
Step 13: Let the Environment React
This is one of the biggest differences between a basic magic effect and a convincing one.
If a magical orb is extremely bright, why doesn't the character's face change?
Why doesn't the ground change?
Why doesn't the nearby environment react?
The light from the magic should affect the scene.
For example:
Magic appears → Character receives colored light → Ground receives light → Nearby objects receive subtle glow
This creates integration.
The magic no longer looks like it was pasted on top of the footage.
It feels like it exists inside the world.
Step 14: Add Secondary Effects
Once the main magic is working, add supporting effects.
Depending on the spell, these could include:
- Smoke
- Dust
- Sparks
- Floating particles
- Light streaks
- Energy waves
- Distortion
- Debris
- Shockwaves
- Small flashes
But remember:
Secondary effects should support the main effect.
Don't add everything just because you can.
Step 15: Build the Impact
The impact is often the most important moment of a magic scene.
Suppose the character launches a spell.
The sequence might be:
Charge → Release → Travel → Impact
At the impact moment, you can combine several elements:
Flash
A very short burst of brightness.
Expansion
The energy rapidly grows.
Shockwave
A circular or directional wave moves outward.
Particles
Small elements explode away from the impact.
Debris
The environment reacts.
Camera Shake
A subtle shake can communicate force.
Sound
A strong sound effect completes the moment.
The key is contrast.
If everything is constantly intense, nothing feels intense.
Step 16: Use Scale Changes
One of the most effective tricks in magical effects is changing scale.
For example:
Tiny → Large → Huge → Small
This creates a feeling of explosive energy.
A magic circle might begin as a tiny symbol.
Then suddenly expand around the character.
A fireball might begin small.
Then grow rapidly before being released.
Scale changes create visual drama.
Step 17: Use Timing Contrast
A powerful magic effect shouldn't necessarily move at one consistent speed.
Try:
Slow → Slow → FAST → Impact → Pause → Dissipate
The sudden speed change creates energy.
For example:
The spell slowly charges for several seconds.
Then suddenly releases in a fraction of a second.
That contrast makes the release feel powerful.
Step 18: Add a Moment of Stillness
After a major impact, consider adding a short pause.
For example:
Explosion → Freeze → Smoke → Movement
That brief moment gives the audience time to process what happened.
It also makes the effect feel more dramatic.
Step 19: Animate Dissipation
Magic shouldn't simply disappear.
Think about how the energy leaves the scene.
It could:
- Fade
- Break apart
- Evaporate
- Shrink
- Turn into particles
- Spiral away
- Burn out
- Collapse inward
The ending should feel like the natural opposite of the beginning.
If the spell was created by particles gathering together, perhaps it ends with those particles dispersing.
How to Create a Magic Circle
Magic circles are popular because they instantly communicate "spell" or "ritual."
A simple magic-circle animation can be built in layers.
Layer 1
Main circle.
Layer 2
Inner symbols.
Layer 3
Rotating elements.
Layer 4
Glow.
Layer 5
Particles.
Layer 6
Light interaction.
Then animate:
Appear → Rotate → Pulse → Activate → Flash → Disappear
How to Create a Magical Orb
A magical orb can be surprisingly simple.
Start with:
Core Shape
Then add:
Inner Glow
Then:
Outer Glow
Then:
Particles
Then:
Energy Trails
Finally:
Environmental Light
The orb can breathe by slightly changing scale.
For example:
100% → 105% → 100%
This subtle movement makes it feel alive.
How to Create a Magic Beam
A beam works best when its construction is clear.
Start
Small energy source.
Build
Energy gathers around the source.
Release
The beam rapidly extends.
Travel
The beam maintains directional movement.
Impact
The target reacts.
Dissipation
The beam shrinks or disappears.
Avoid making the beam completely static.
Even a beam can have:
- Pulsing energy
- Moving internal streaks
- Flickering edges
- Particles
- Distortion
How to Create Fire Magic
Fire is difficult because it doesn't behave like a solid object.
It constantly changes shape.
Instead of animating one perfect flame shape, think about several overlapping movements.
Fire can:
- Rise
- Curl
- Stretch
- Split
- Merge
- Flicker
- Expand
- Collapse
Use irregular shapes.
Perfectly repetitive loops can make fire look artificial.
How to Create Lightning Magic
Lightning works differently from fire.
It is:
Fast + Sharp + Unpredictable
Use:
- Sudden flashes
- Branching shapes
- Sharp angles
- Quick timing
- Irregular paths
- Small secondary sparks
Lightning often benefits from appearing for only a few frames.
The shorter the appearance, the more energetic it can feel.
How to Create a Teleportation Effect
Teleportation can be created using several visual ideas.
Before Teleport
Character begins glowing.
Build-Up
Particles gather around the body.
Distortion
The character starts breaking apart or stretching.
Disappearance
The character rapidly fades or collapses into particles.
Destination
Particles appear first.
Then the character reconstructs.
This gives the teleportation a clear visual sequence.
How to Make Magic Feel Powerful
Power doesn't come from adding more effects.
It comes from contrast.
Try:
Size Contrast
Small → Huge
Speed Contrast
Slow → Extremely Fast
Brightness Contrast
Dark → Bright Flash
Sound Contrast
Quiet → Loud Impact
Movement Contrast
Still → Explosive
Detail Contrast
Simple buildup → Complex climax
These contrasts make magical moments feel powerful.
The Layering Formula for Magic Effects
A useful way to think about magical VFX is:
Primary Shape
↓
Motion
↓
Secondary Motion
↓
Particles
↓
Glow
↓
Environmental Light
↓
Impact
↓
Dissipation
Not every effect needs every layer.
But thinking in layers makes the effect easier to build and control.
Common Mistakes When Creating Magic Effects
1. Too Much Glow
If everything is glowing, nothing looks bright.
Use glow selectively.
2. Random Particles
Particles should have direction and purpose.
3. No Anticipation
If the magic appears instantly, the moment may feel weak.
Build anticipation.
4. No Environmental Interaction
If the magic doesn't affect the world around it, it can look pasted on.
Add subtle light, shadows, particles, or debris.
5. Everything Moves at the Same Speed
Use timing contrast.
6. Too Many Effects
More layers don't automatically mean better VFX.
Clarity is more important than complexity.
7. No Strong Core Shape
Glow can't fix a weak design.
Design the main effect first.
8. No Clear Beginning or Ending
A good magic effect should have:
Build → Action → Impact → Resolution
A Simple Magic Scene Formula
If you're creating your first magic scene, start with this structure:
01 — Character Prepares
A strong pose.
02 — Energy Appears
Small particles or glow.
03 — Energy Builds
The effect grows.
04 — Spell Activates
The main shape appears.
05 — Release
Fast movement.
06 — Impact
Flash + particles + environmental reaction.
07 — Pause
A brief moment to read the result.
08 — Dissipation
The magic disappears naturally.
This simple structure can be adapted to almost any magical effect.
How to Make 2D Magic Effects Look Professional
Professional-looking effects aren't necessarily the most complicated.
They usually have:
Clear shapes
Controlled timing
Strong silhouettes
Intentional motion
Good layering
Consistent color
Environmental interaction
Strong contrast
Clean compositing
The goal is to make every layer contribute to the story.
Final Takeaway
Creating magical scenes in 2D animation is not about adding as many effects as possible.
It's about making the audience believe in the impossible.
Start with the idea.
Design a strong visual language.
Build anticipation.
Animate the main shape.
Add secondary movement.
Introduce particles.
Create controlled glow.
Let the environment react.
Build a strong impact.
Then let the magic disappear naturally.
The most important lesson is simple:
Don't animate magic as an effect. Animate it as an action.
A great magic scene has a beginning, buildup, release, impact, and ending.
Once you understand that structure, you can create everything from simple magical sparks to powerful spells, portals, energy attacks, transformations, and fantasy VFX.
And the best part?
You don't need hundreds of effects.
You need good design, good timing, and intentional movement.
Frequently Asked Questions About 2D Magic Effects
How do you make magic effects in 2D animation?
Start by designing the core magic shape, then animate its buildup, movement, and impact. Add secondary elements such as particles, trails, glow, environmental lighting, and distortion during the compositing stage.
How do you make a magic effect look realistic?
Focus on interaction with the environment. The magic should affect nearby characters and objects through light, shadows, particles, reflections, distortion, or debris. Timing and motion should also match the imagined physical behavior of the effect.
What effects are commonly used for magical animation?
Common effects include glow, particles, energy trails, sparks, smoke, flashes, shockwaves, magical circles, distortion, light rays, and environmental lighting.
How do you animate a magic circle?
Create the circle and its internal symbols as separate elements. Animate their appearance, rotation, scaling, pulsing, glow, and particles. You can then add a flash or energy burst when the circle activates.
How do you make a magical orb?
Create a strong core shape, add inner and outer glow, then introduce particles and energy trails. Subtle scaling and shape changes can make the orb feel alive.
How do you make magic look powerful?
Use contrast. Combine slow buildup with extremely fast release, small shapes with large expansions, darkness with bright flashes, and stillness with explosive movement.
Why do my magic effects look cheap?
Common causes include excessive glow, random particles, weak core shapes, poor timing, no environmental interaction, and too many effects competing for attention. Simplifying the effect and improving its timing often produces better results.
Can magic effects be created in 2D animation software?
Yes. Magical effects can be created using a combination of drawing, shape animation, frame-by-frame animation, compositing, particles, masks, blending, and other visual effects techniques depending on the software.
Do I need advanced VFX skills to create magic?
No. You can create convincing magical effects with basic animation fundamentals and a small number of well-designed layers. As your skills improve, you can add more advanced particle systems, distortion, compositing, and procedural effects.